Radiomaster Pocket
Drones, this is second or third time I started getting into the hobby, this time it seems to have stuck.
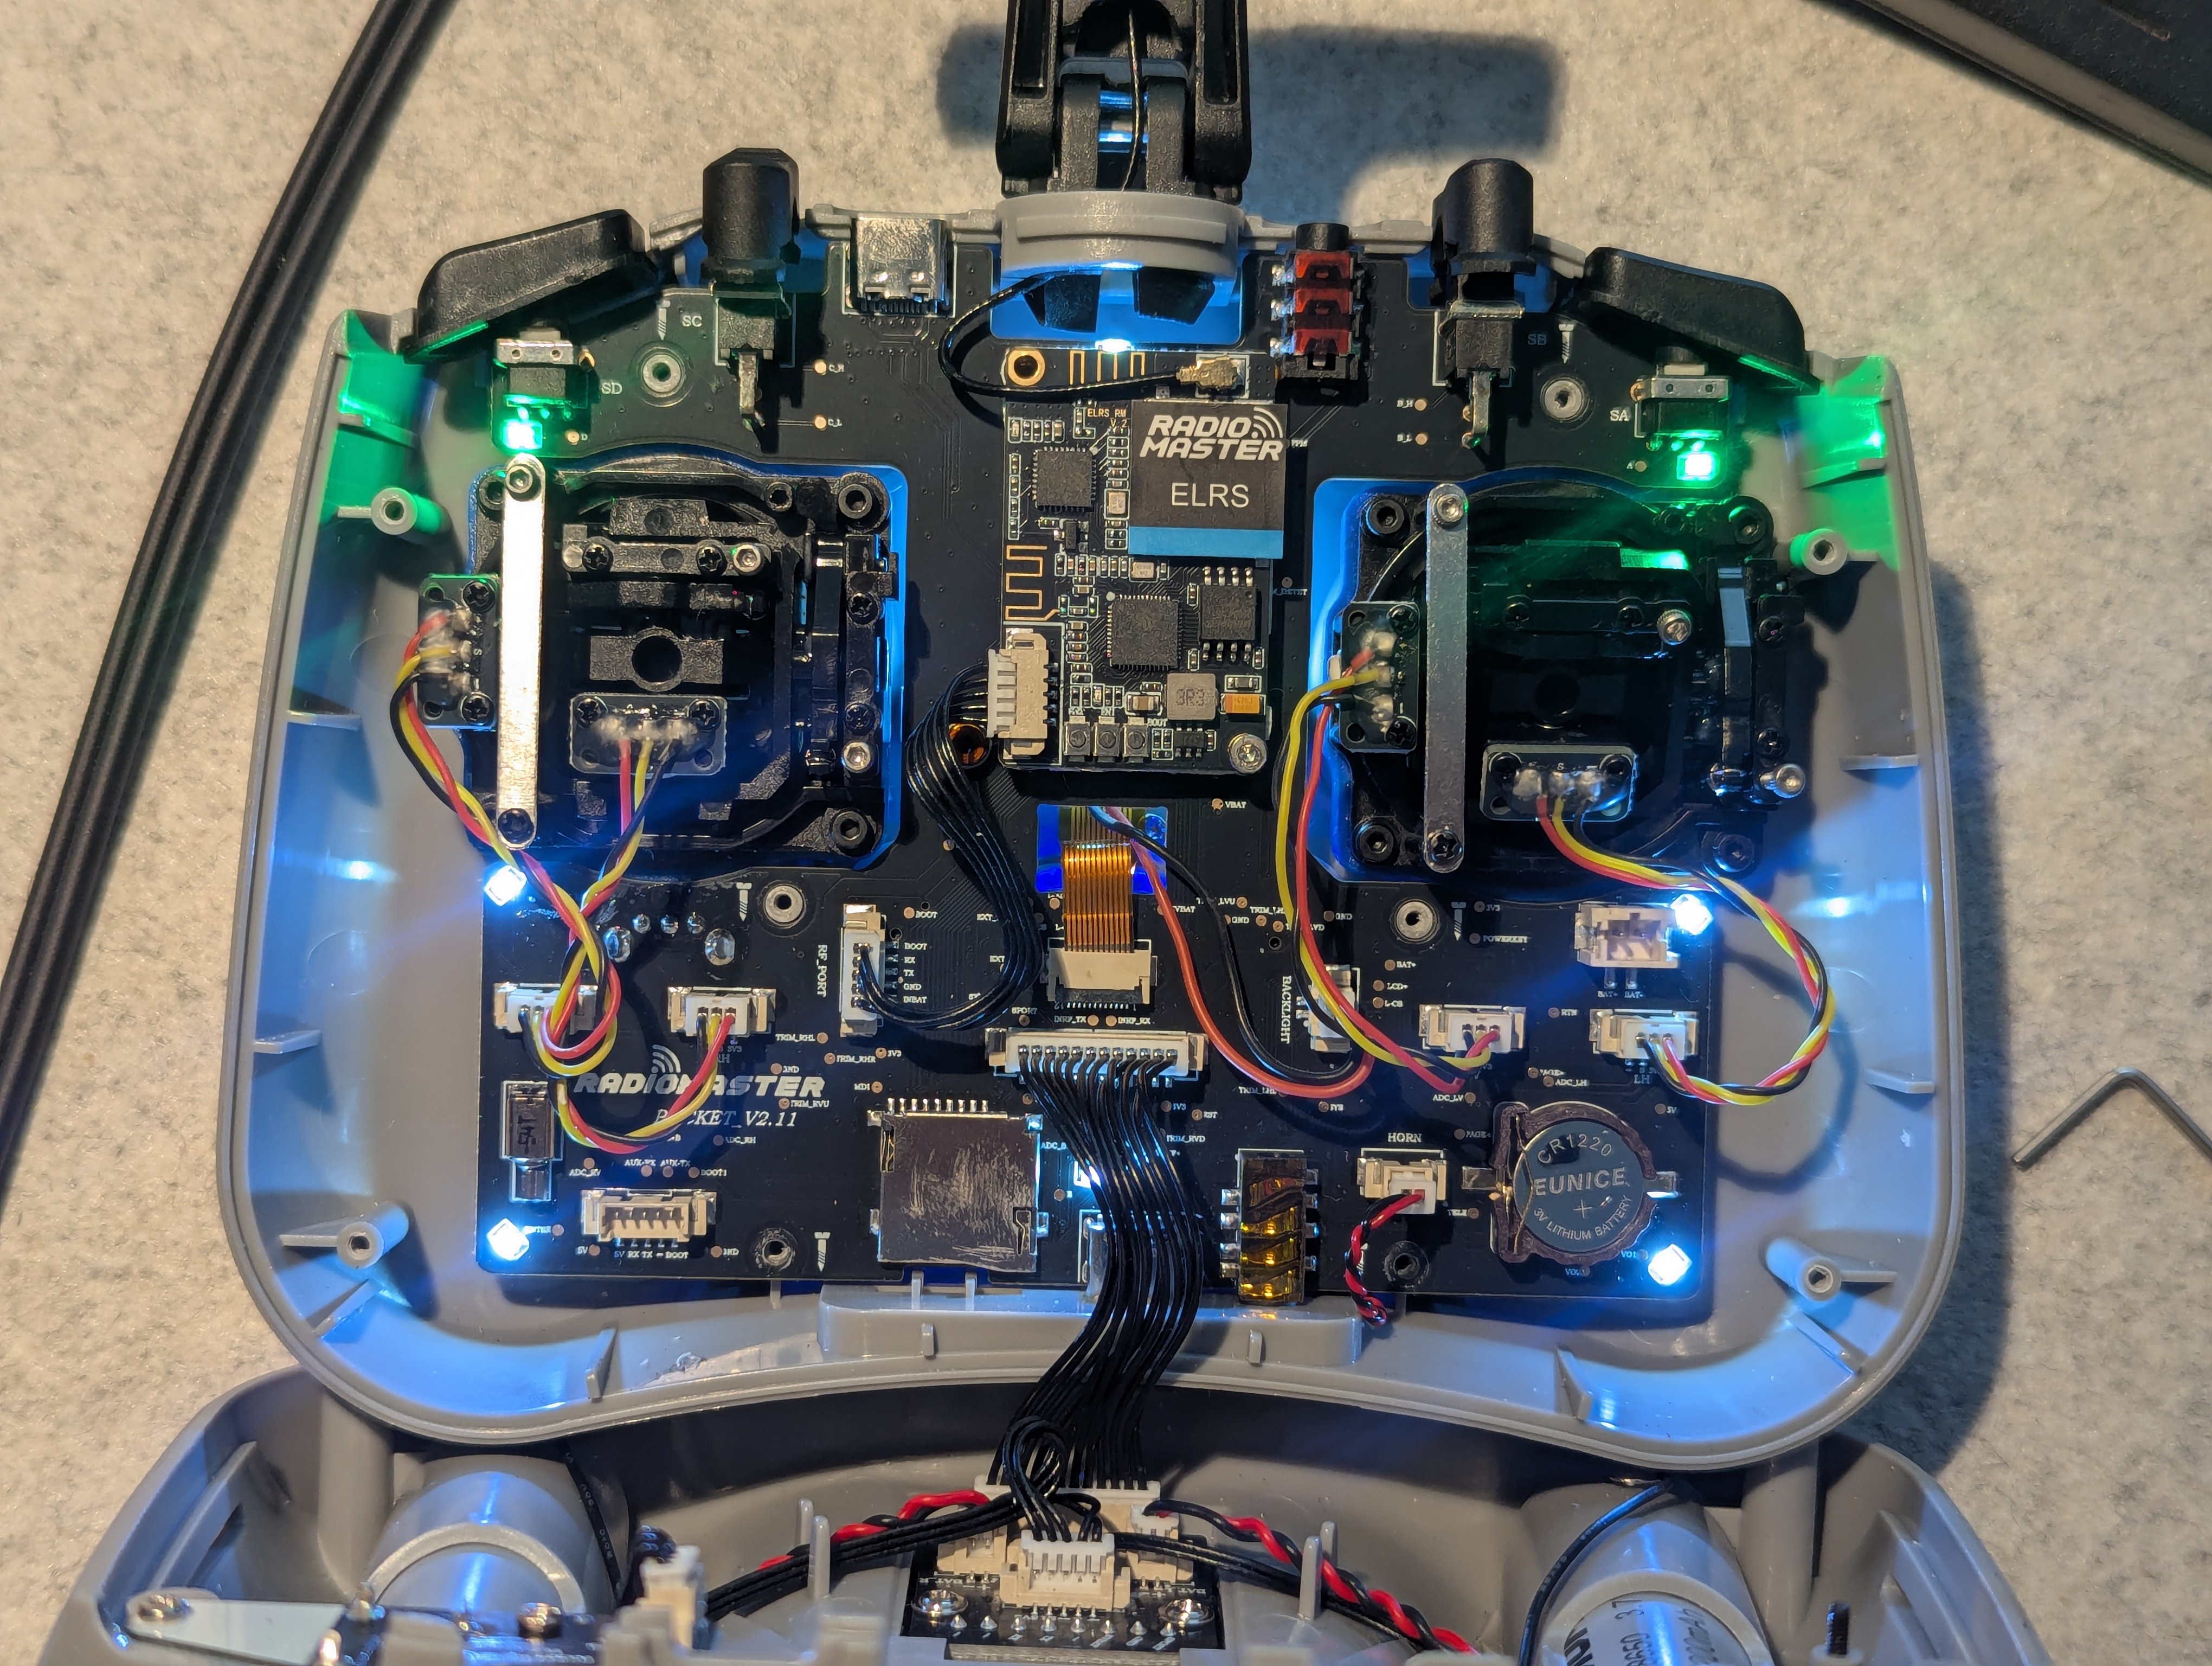
Radiomaster pocket is a great intro radio. Cheap, bought it from aliexpress sent from EU with batteries for 65eur. Opensource, well not the hardware, but the software. It runs edgetx which is a FOSS radio software. It has HAL gimbals so it should last a long time. It has two 18650 batteries to power it, so it lasts a long time.
But what do you do when buy a new hobby hardware device? Well, while it is in the post you search the internet with the name of the device and you add “mod” on the end, right? No? Just me?
And yeah, when it arrives, you click around, confirm that it is working and start modifying it to suit your needs.
In no particular order, what did I do to it?
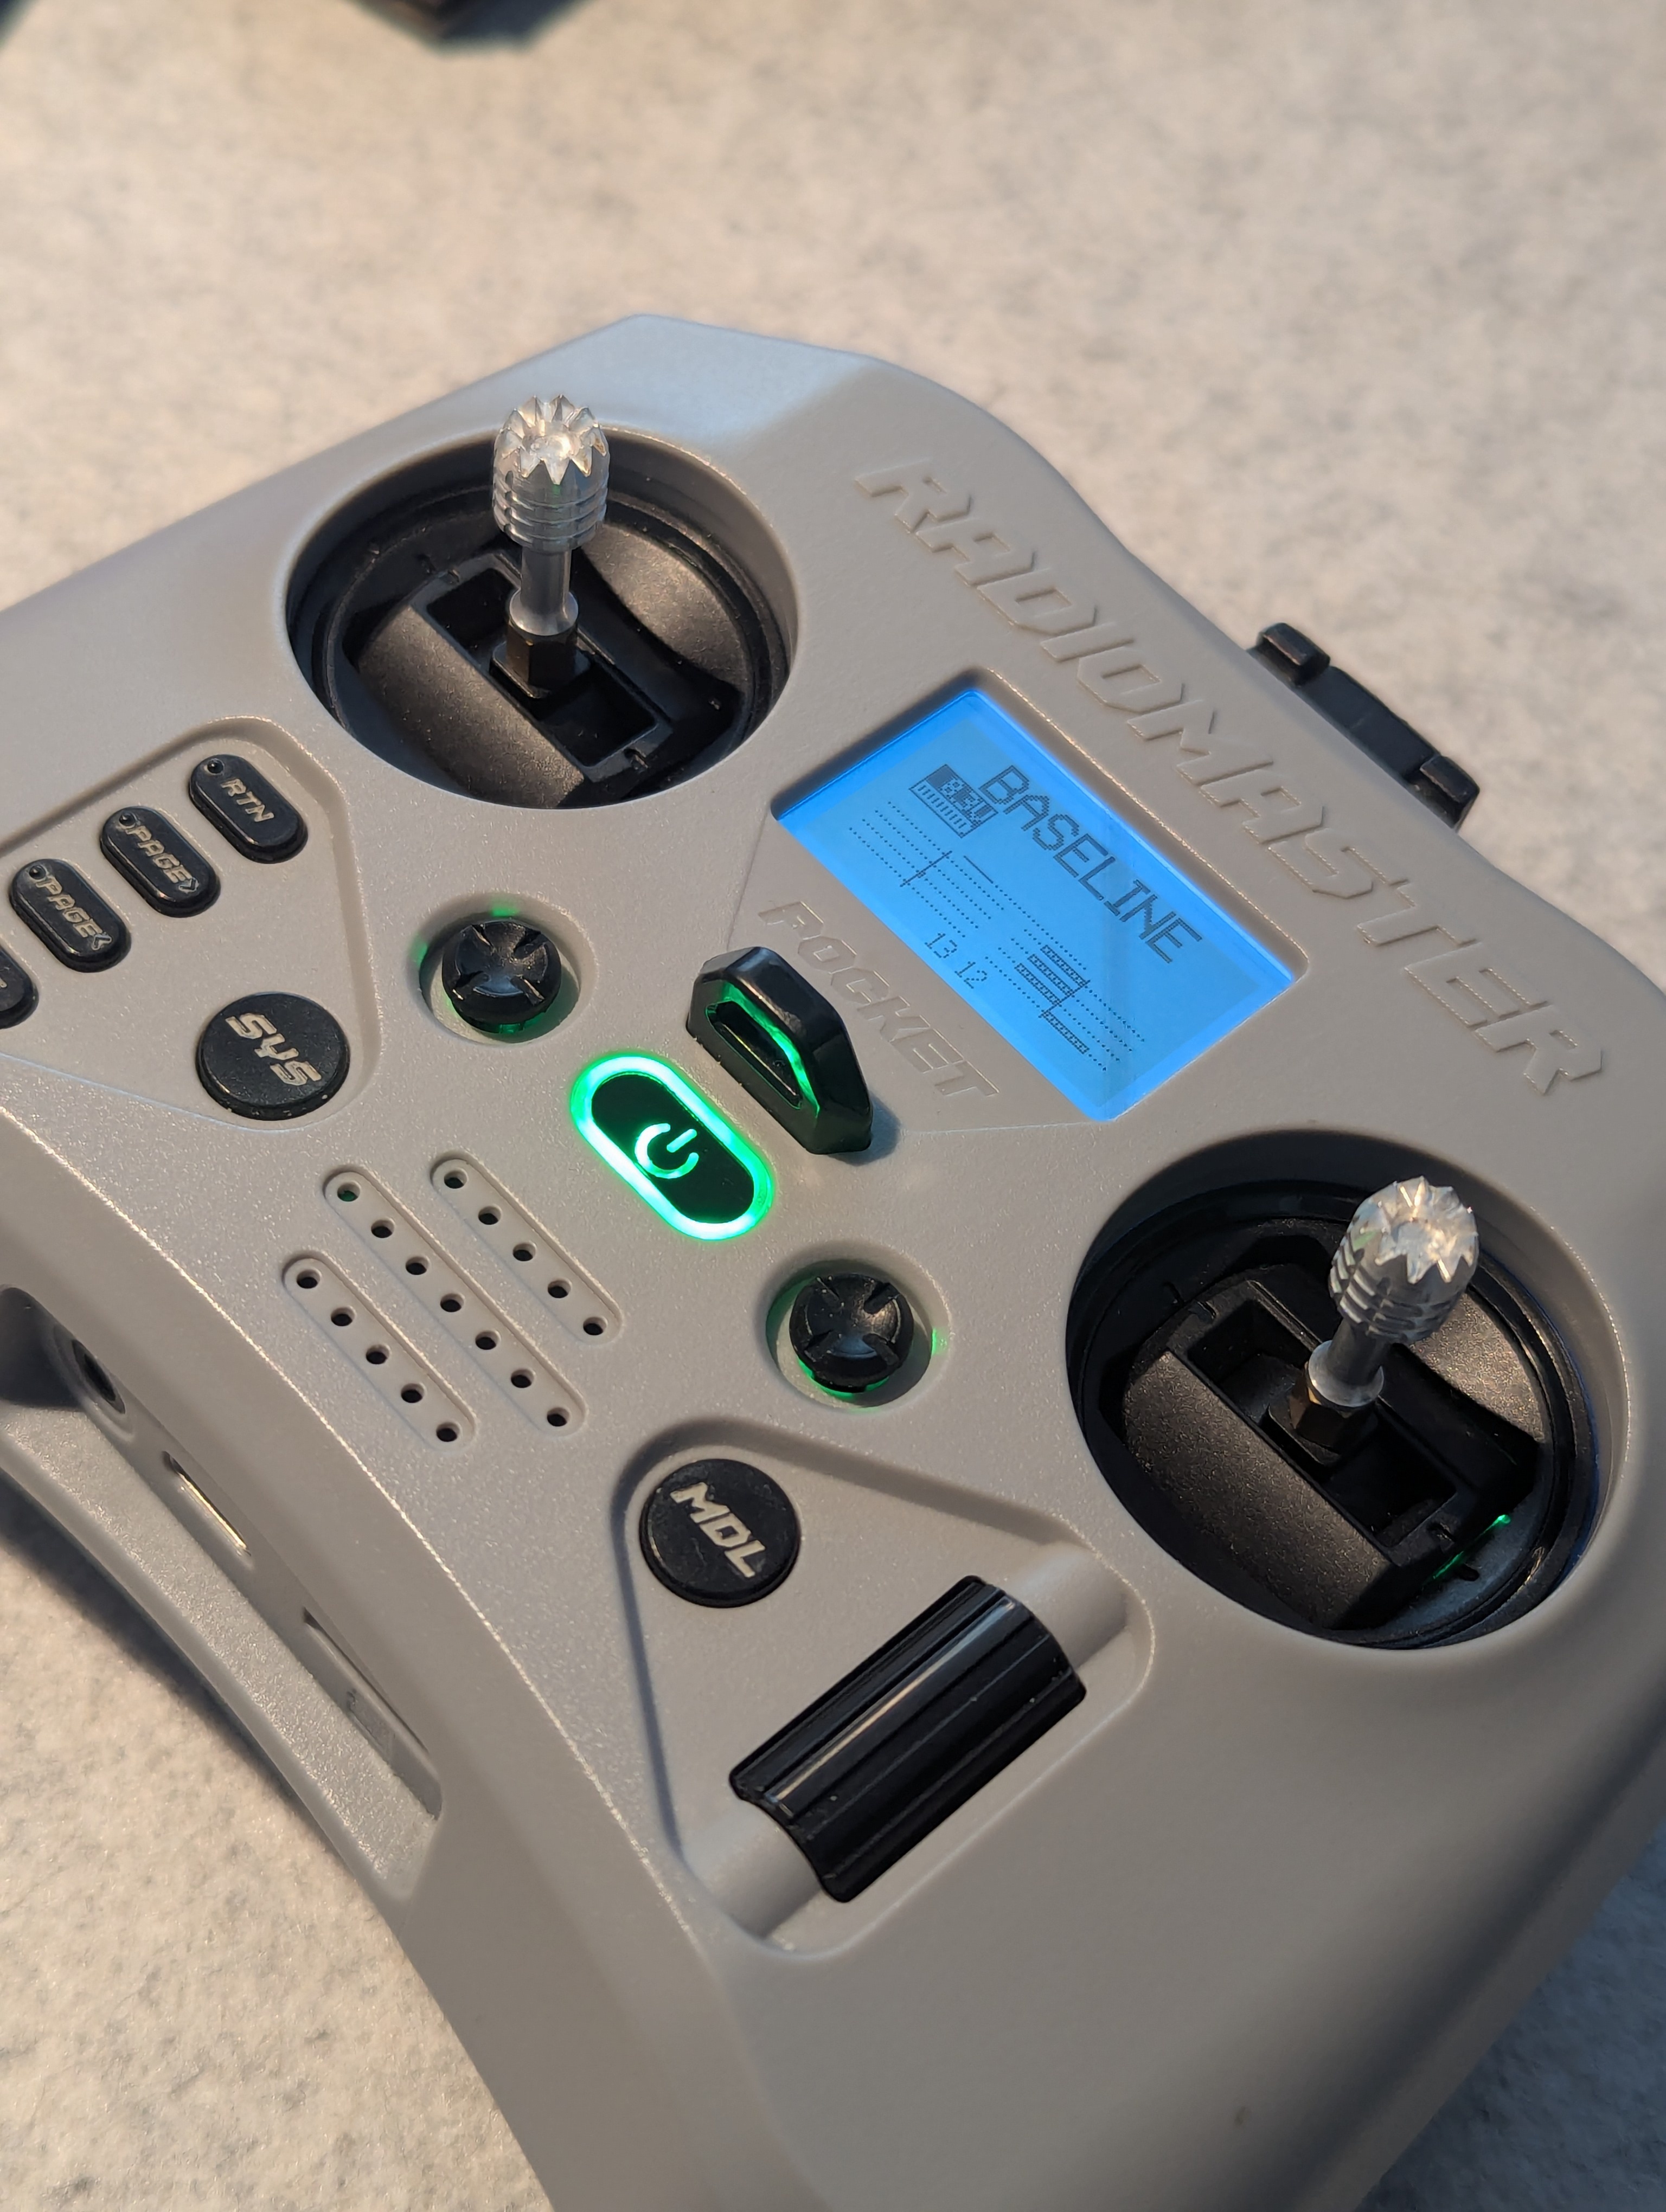
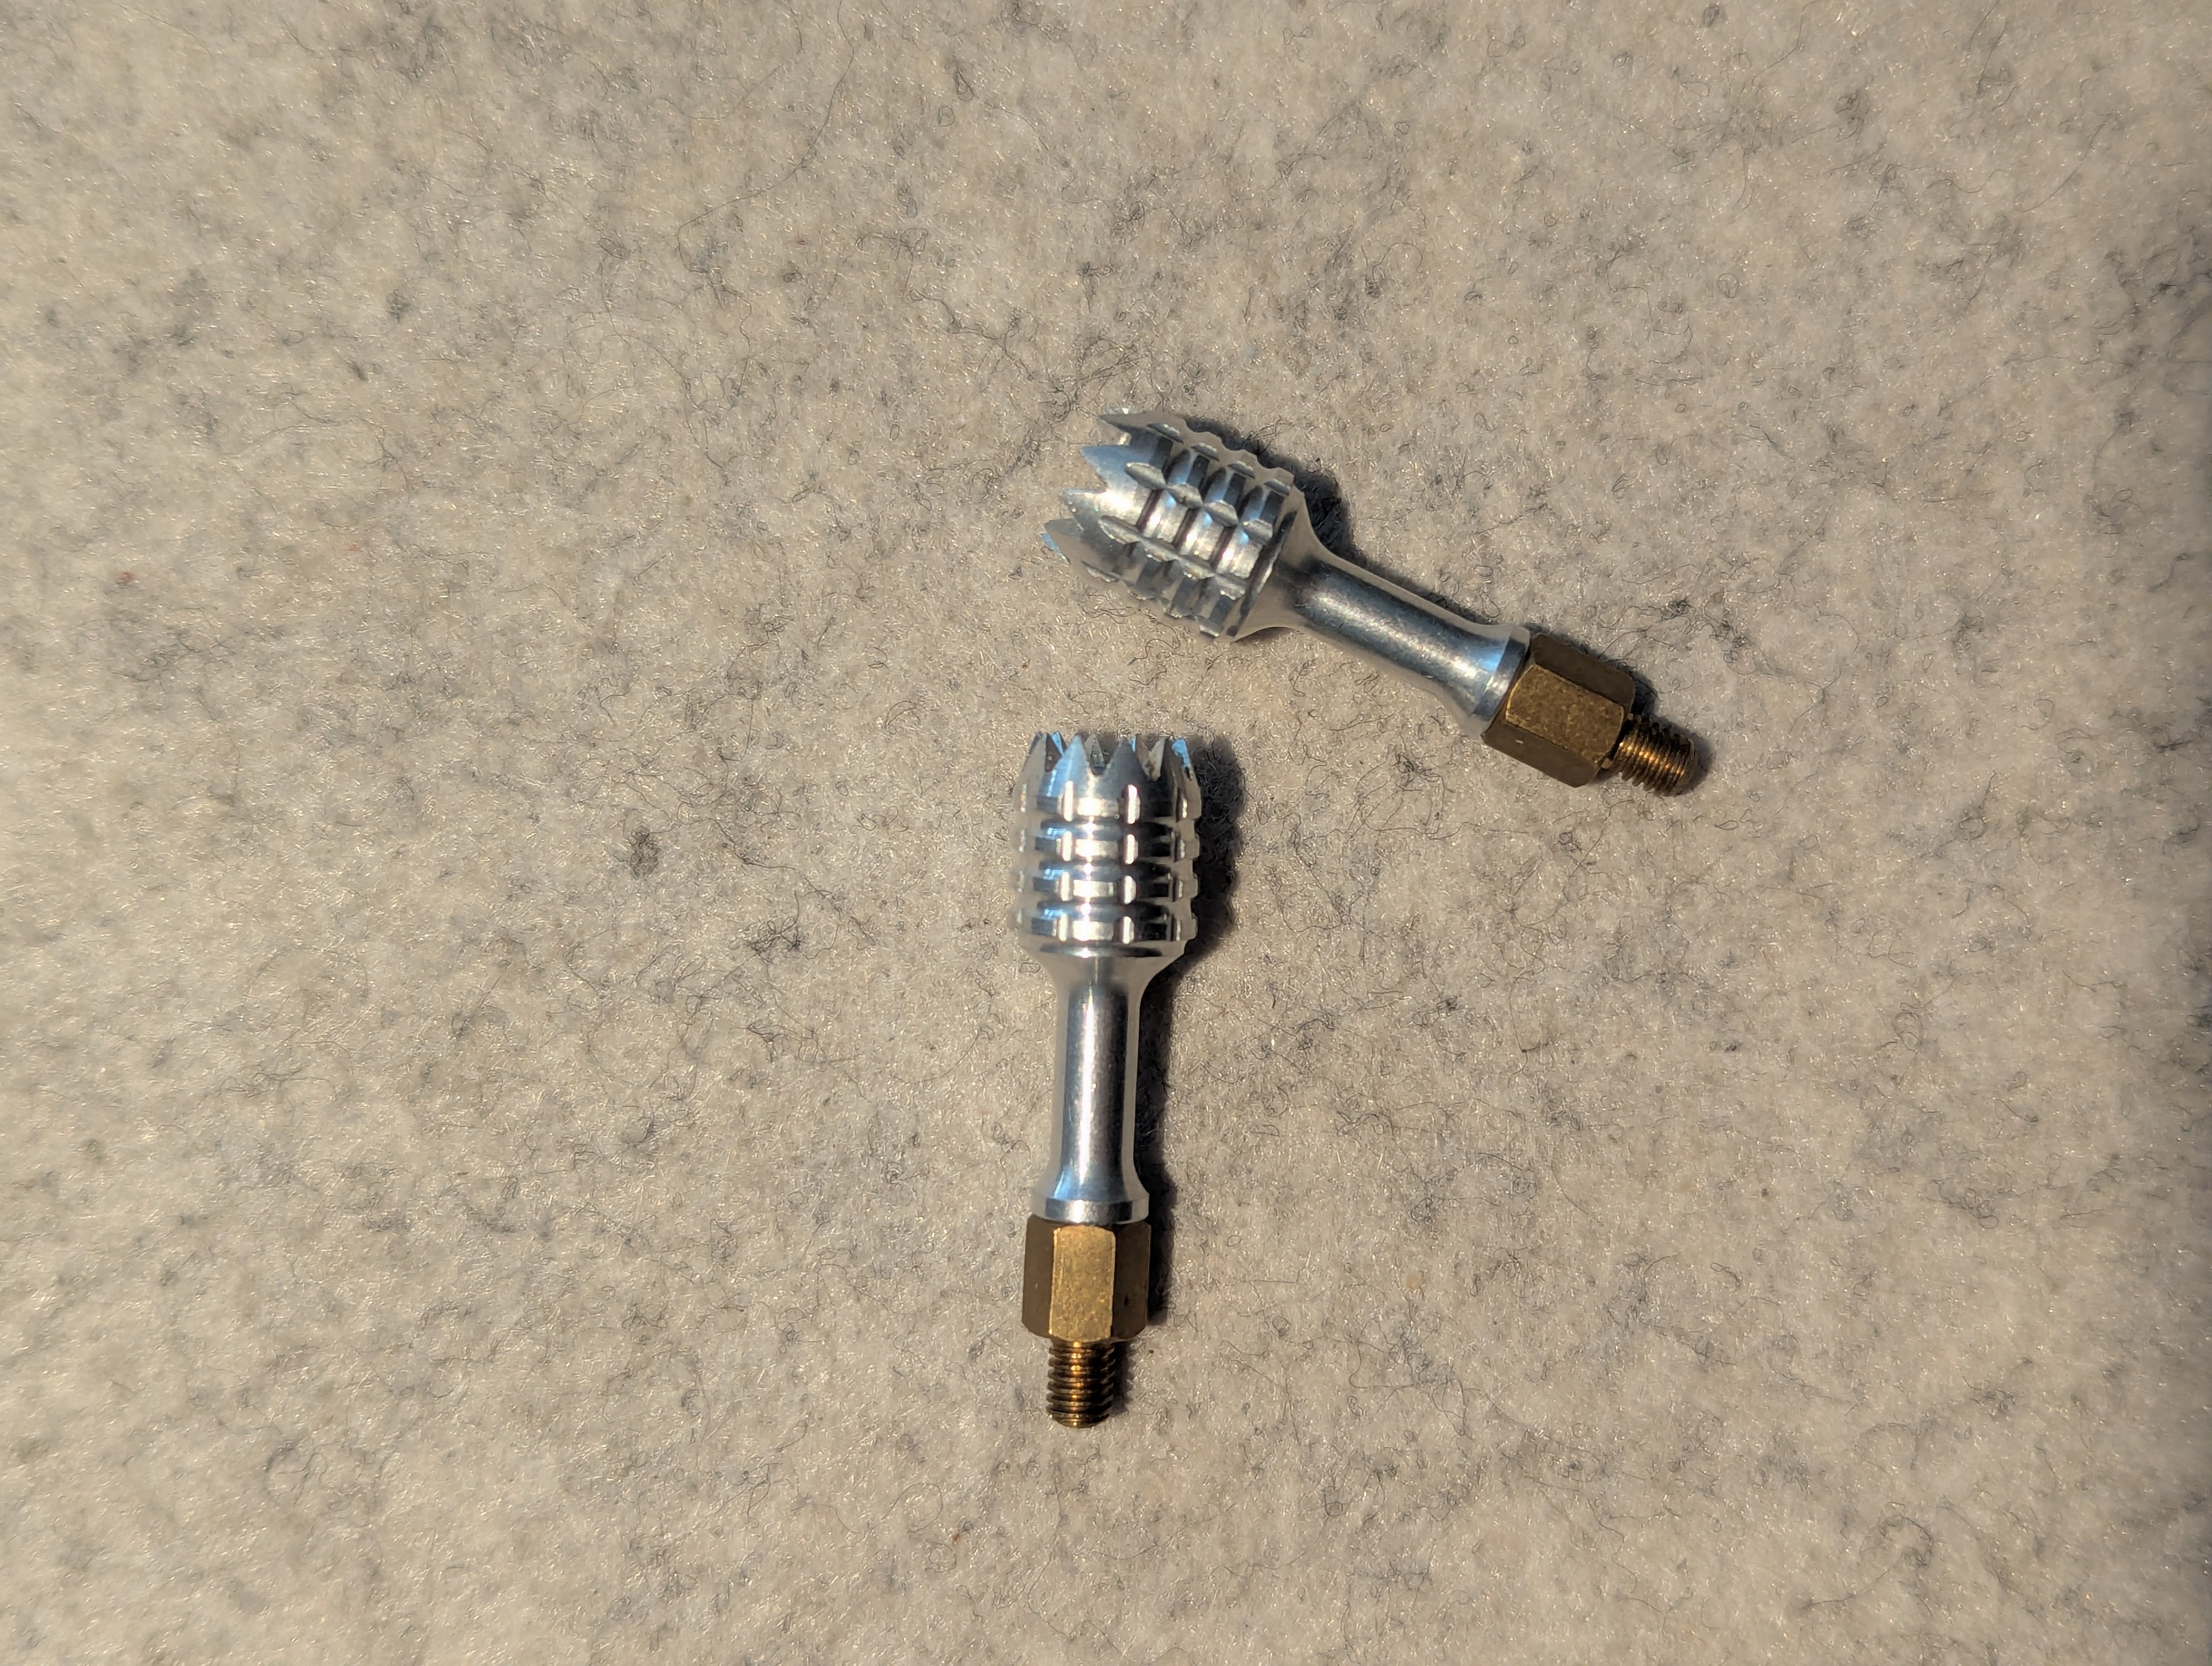
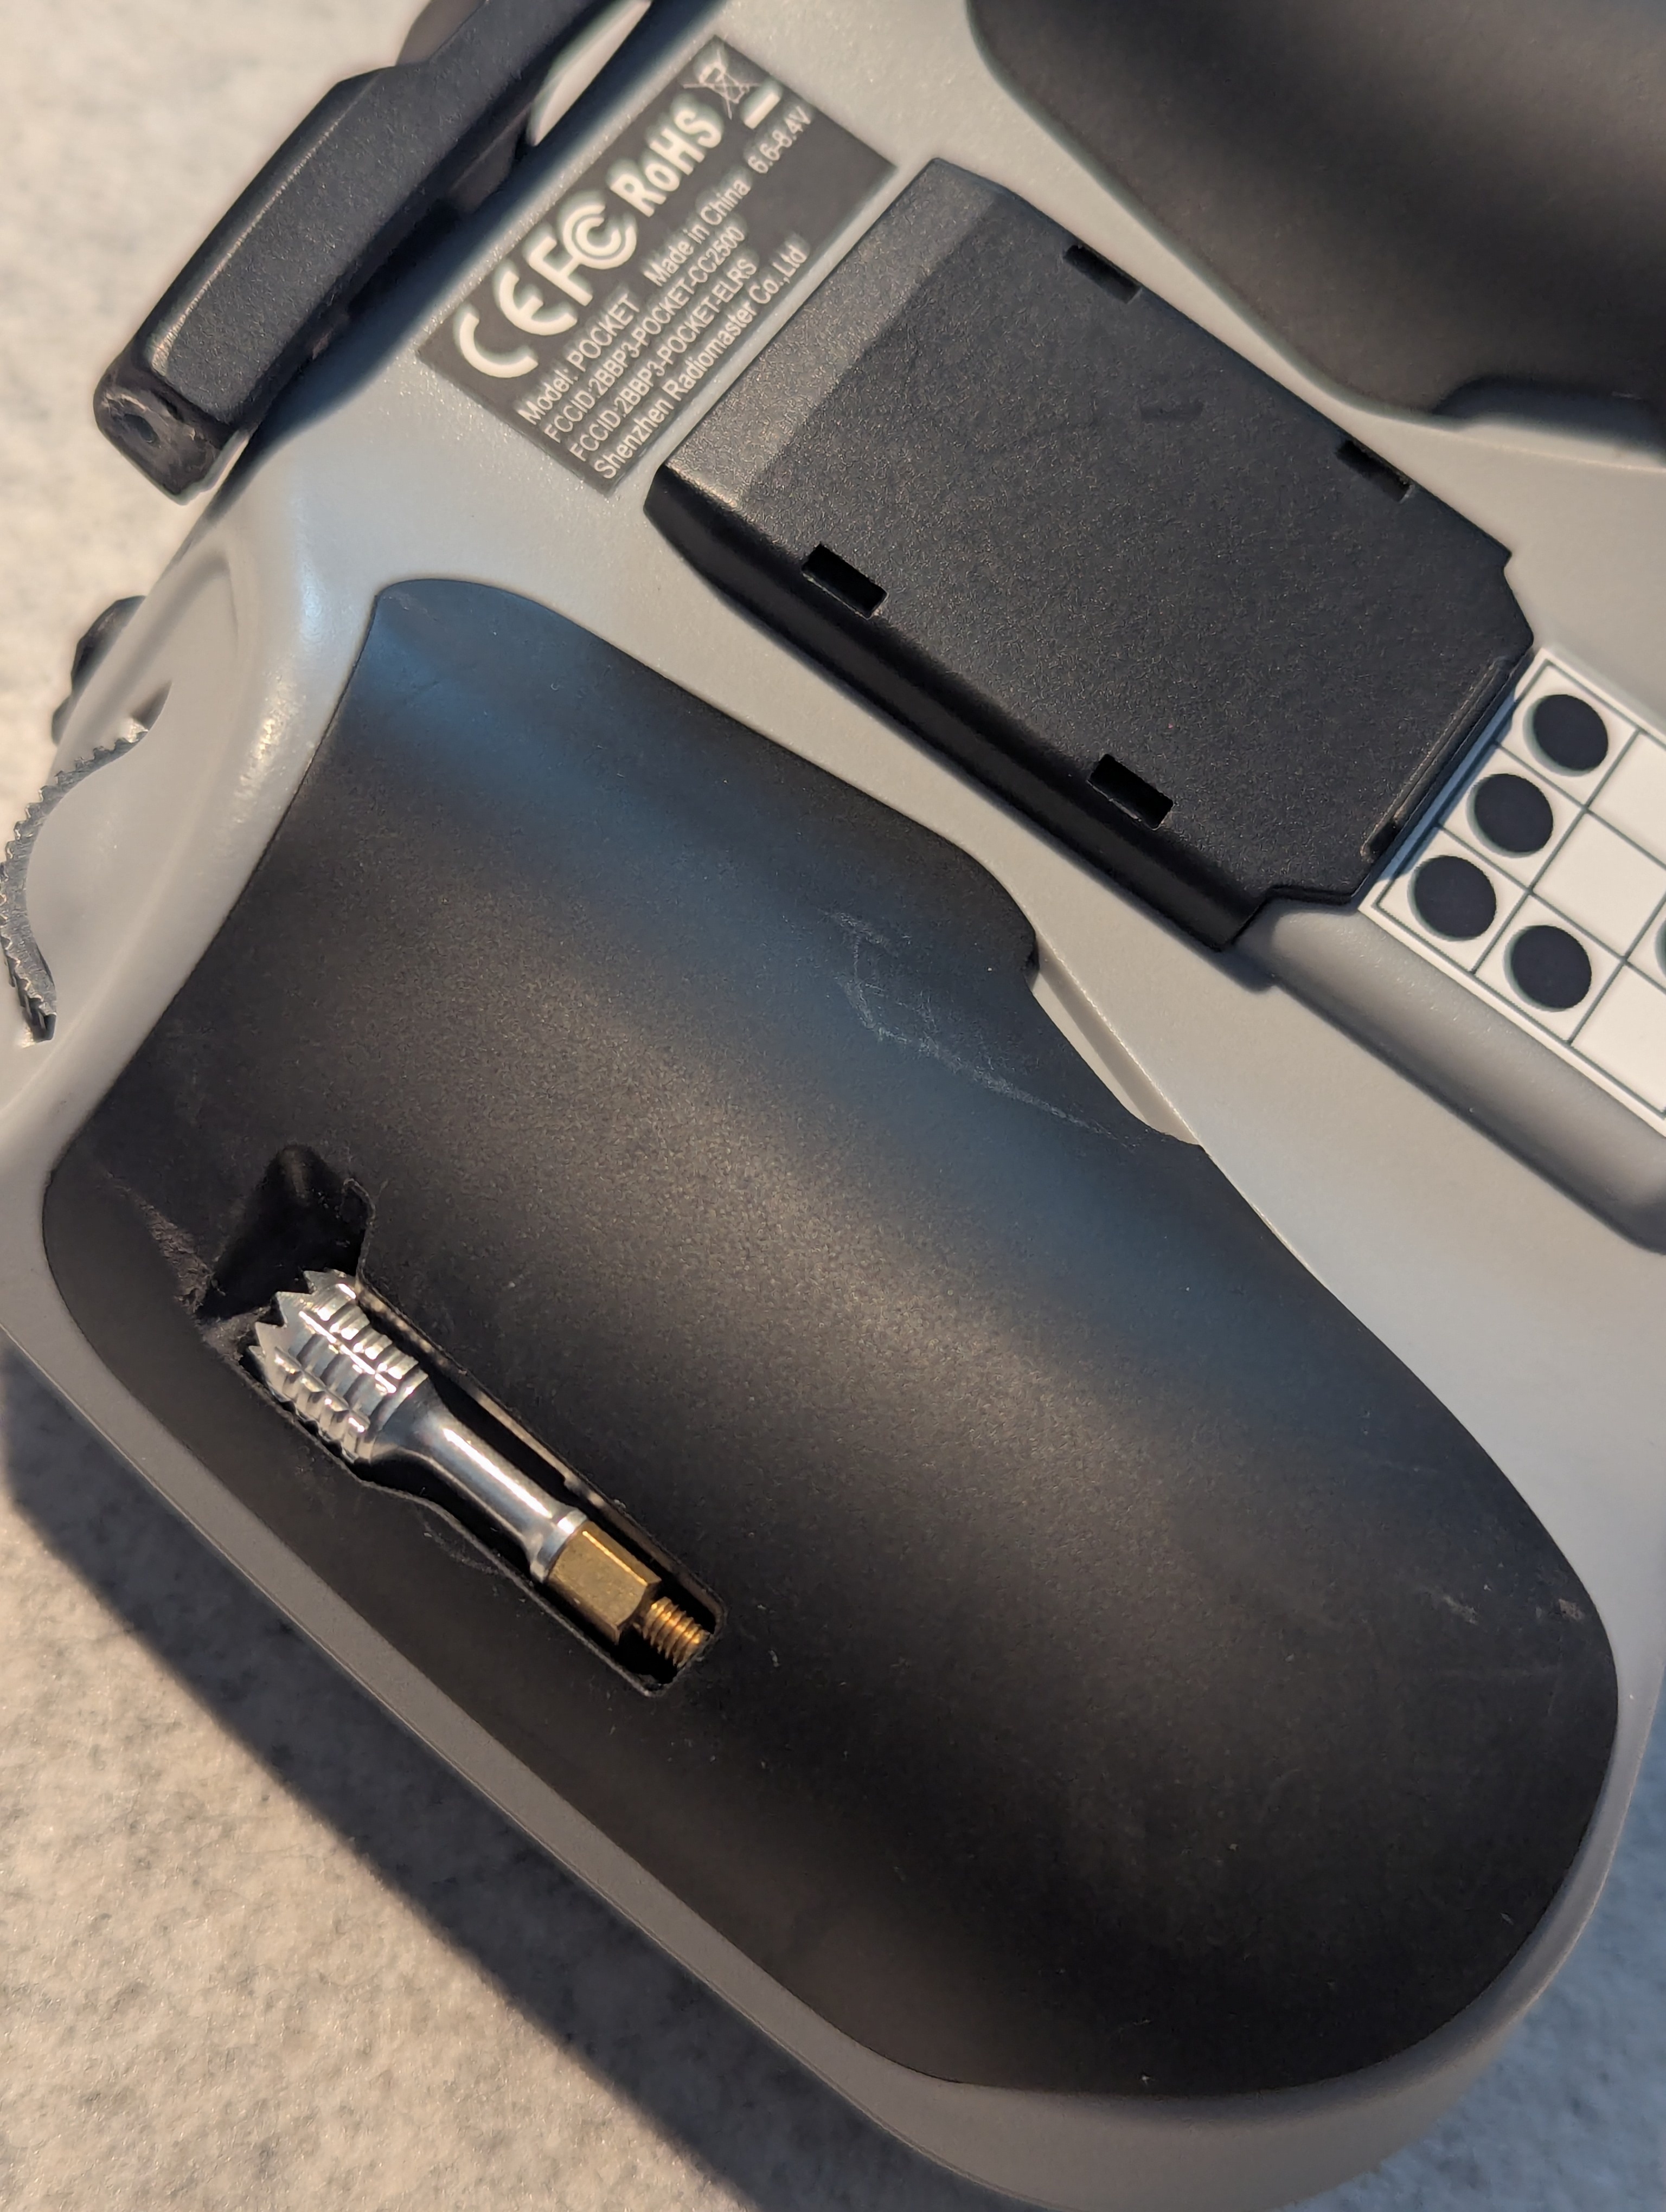
Extended the sticks with a M3 pcb standoff and add 3d printed spacers to lower the gimbals. This mod gives you an impression of a little bit larger gimbals. I have pretty big hands so it suits me. I drilled a 4mm hole in the rubber handles to be able to store the longer sticks in the radio. Afterwards It was a bit of a pain in the ass to spend a long time screwing in the sticks so I sanded off the standoff and left about 3mm, so it does not take a long time to screw it in. Also I used pliers to screw the standoff and the sticks and it now feels as one.
I bought the crush version. The default one has seethrough plastic (probably polycarbonate) which is more brittle. The crush one is probably abs. I bought the gray one, and honestly I regret it a little bit, I should’ve had bought one that is more colorfull. Anyways, the buttons are marked by imprints of its name on the black button or on the case next to it. That makes is have not contrast and is sometimes a bit hard to read. So I bought revel model colors and painted the buttons. Because of the imprint of the name it is really easy to get a great result. You slather the button in the color, wait for it to cure, but not fully. Let’s say a couple of hours, then use rubbing alcohol to remove the color outside of the imprint. It ends up looking great!
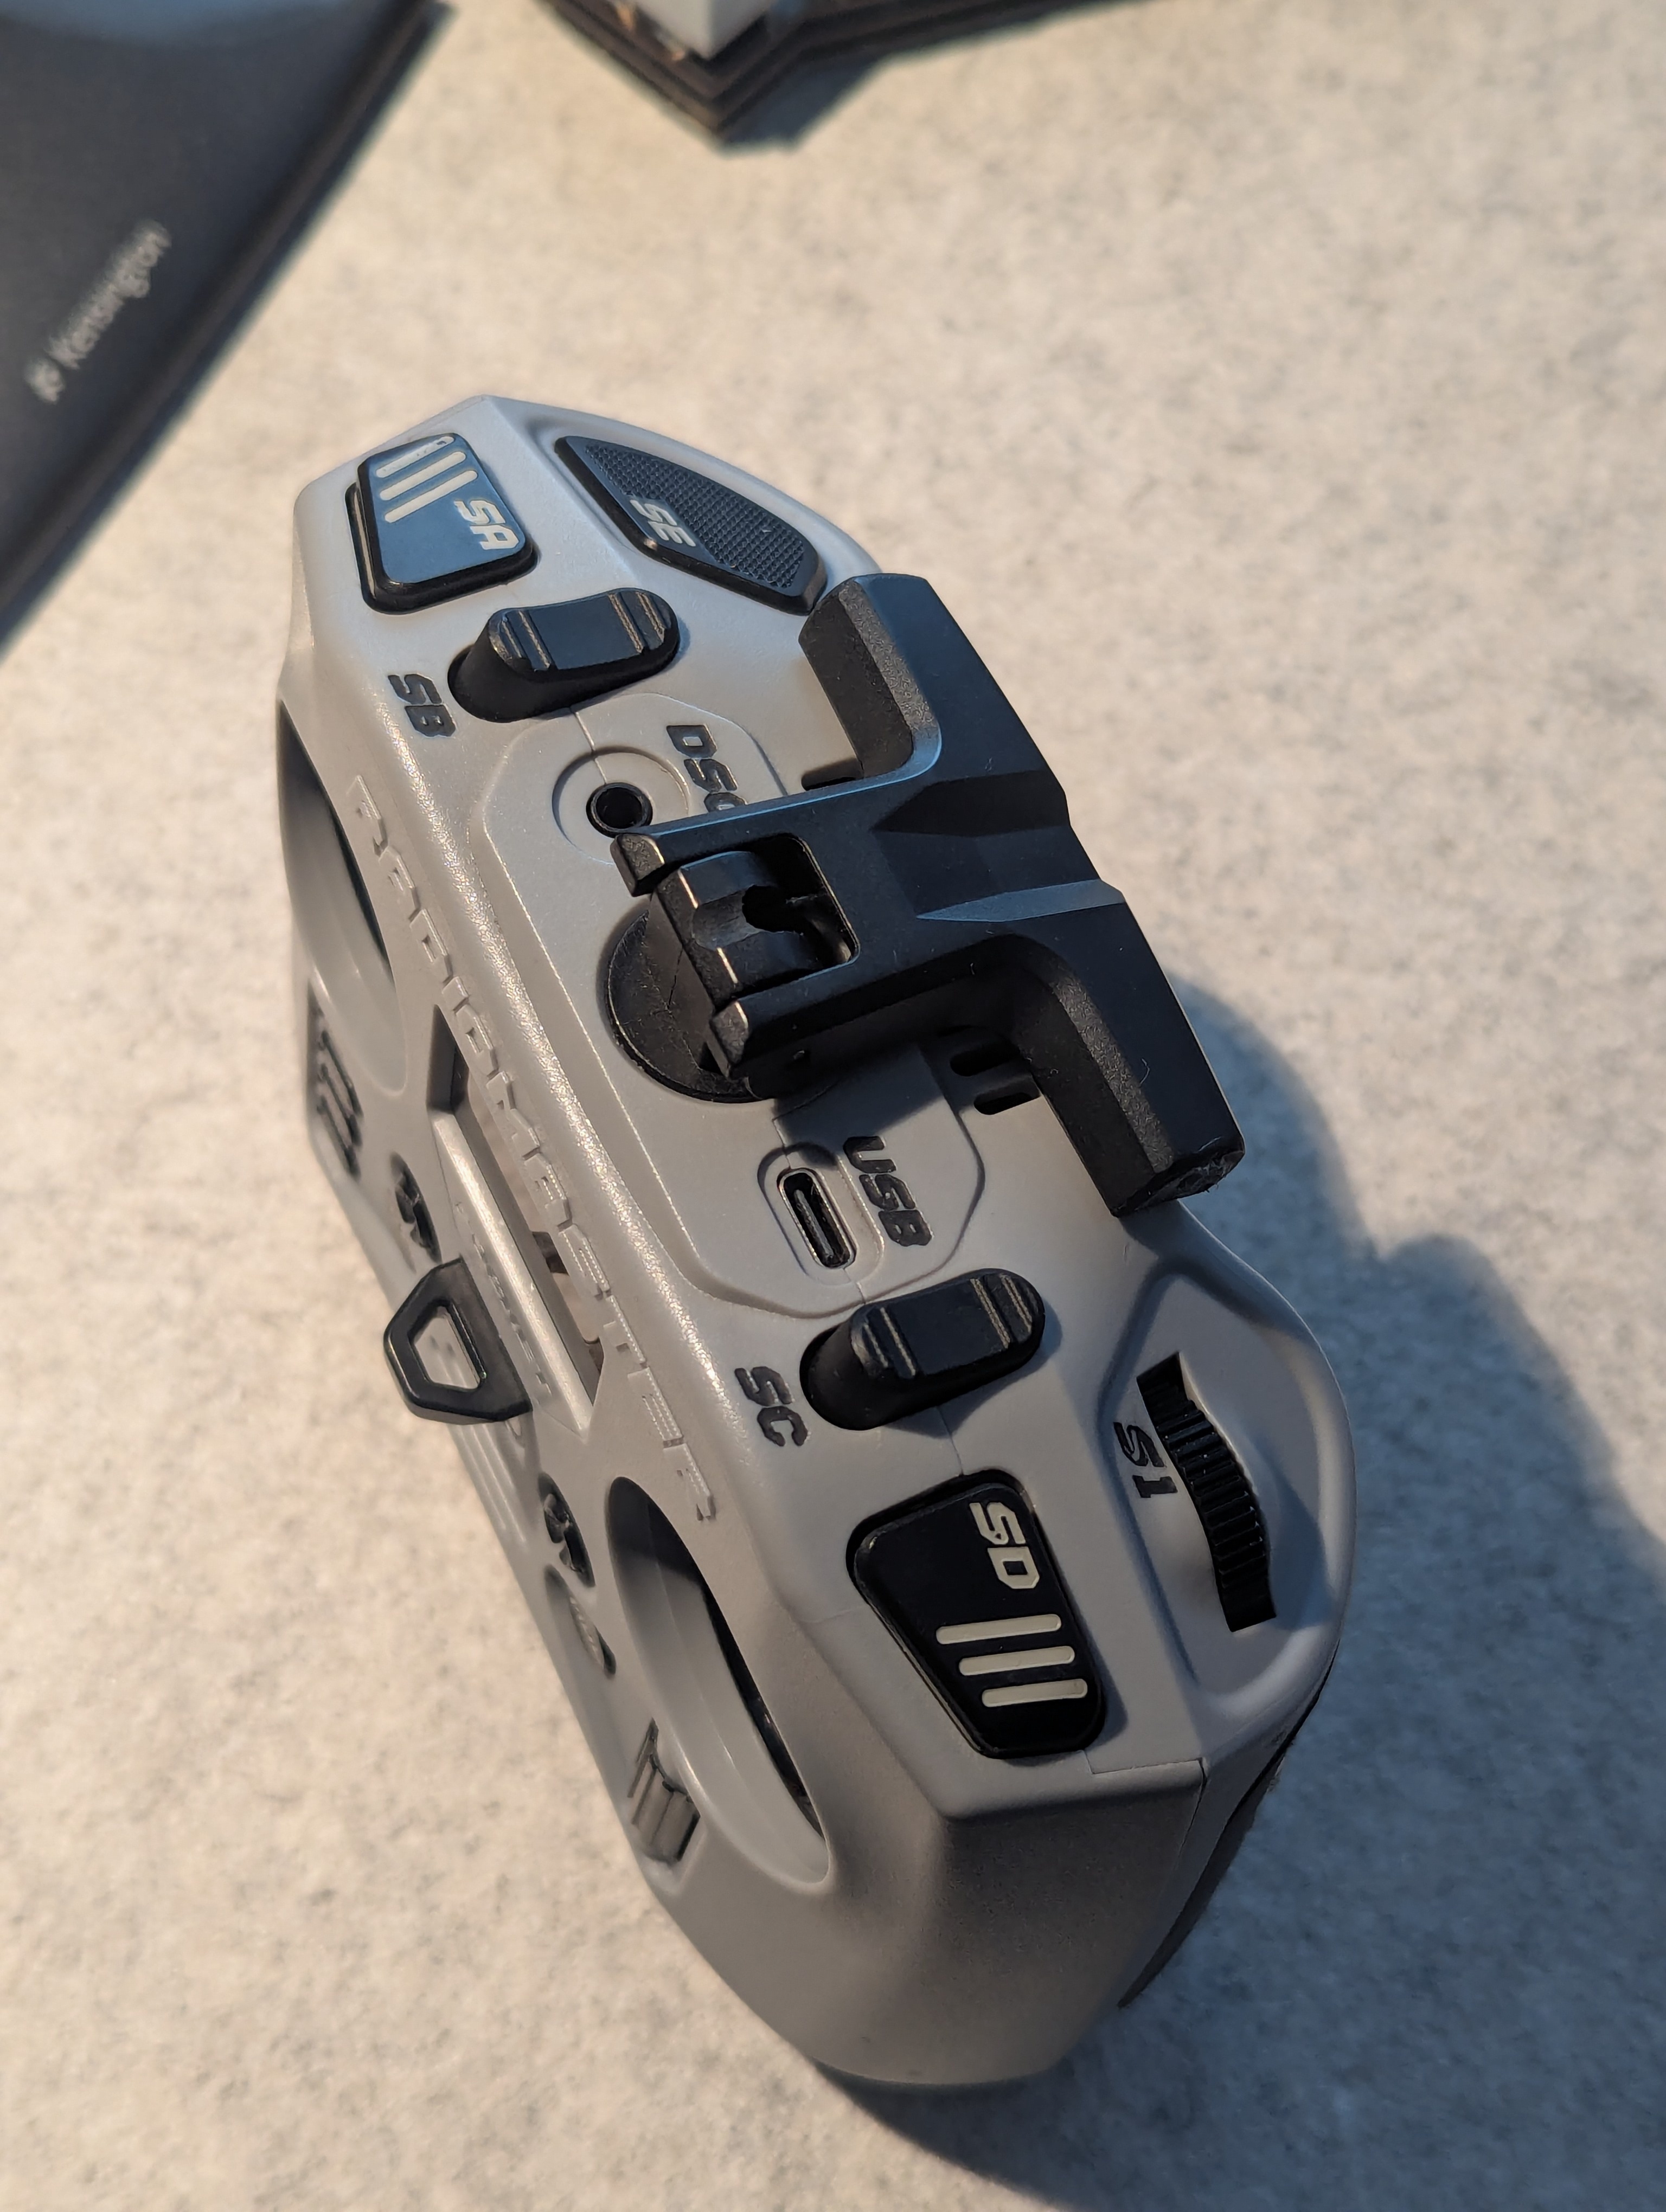
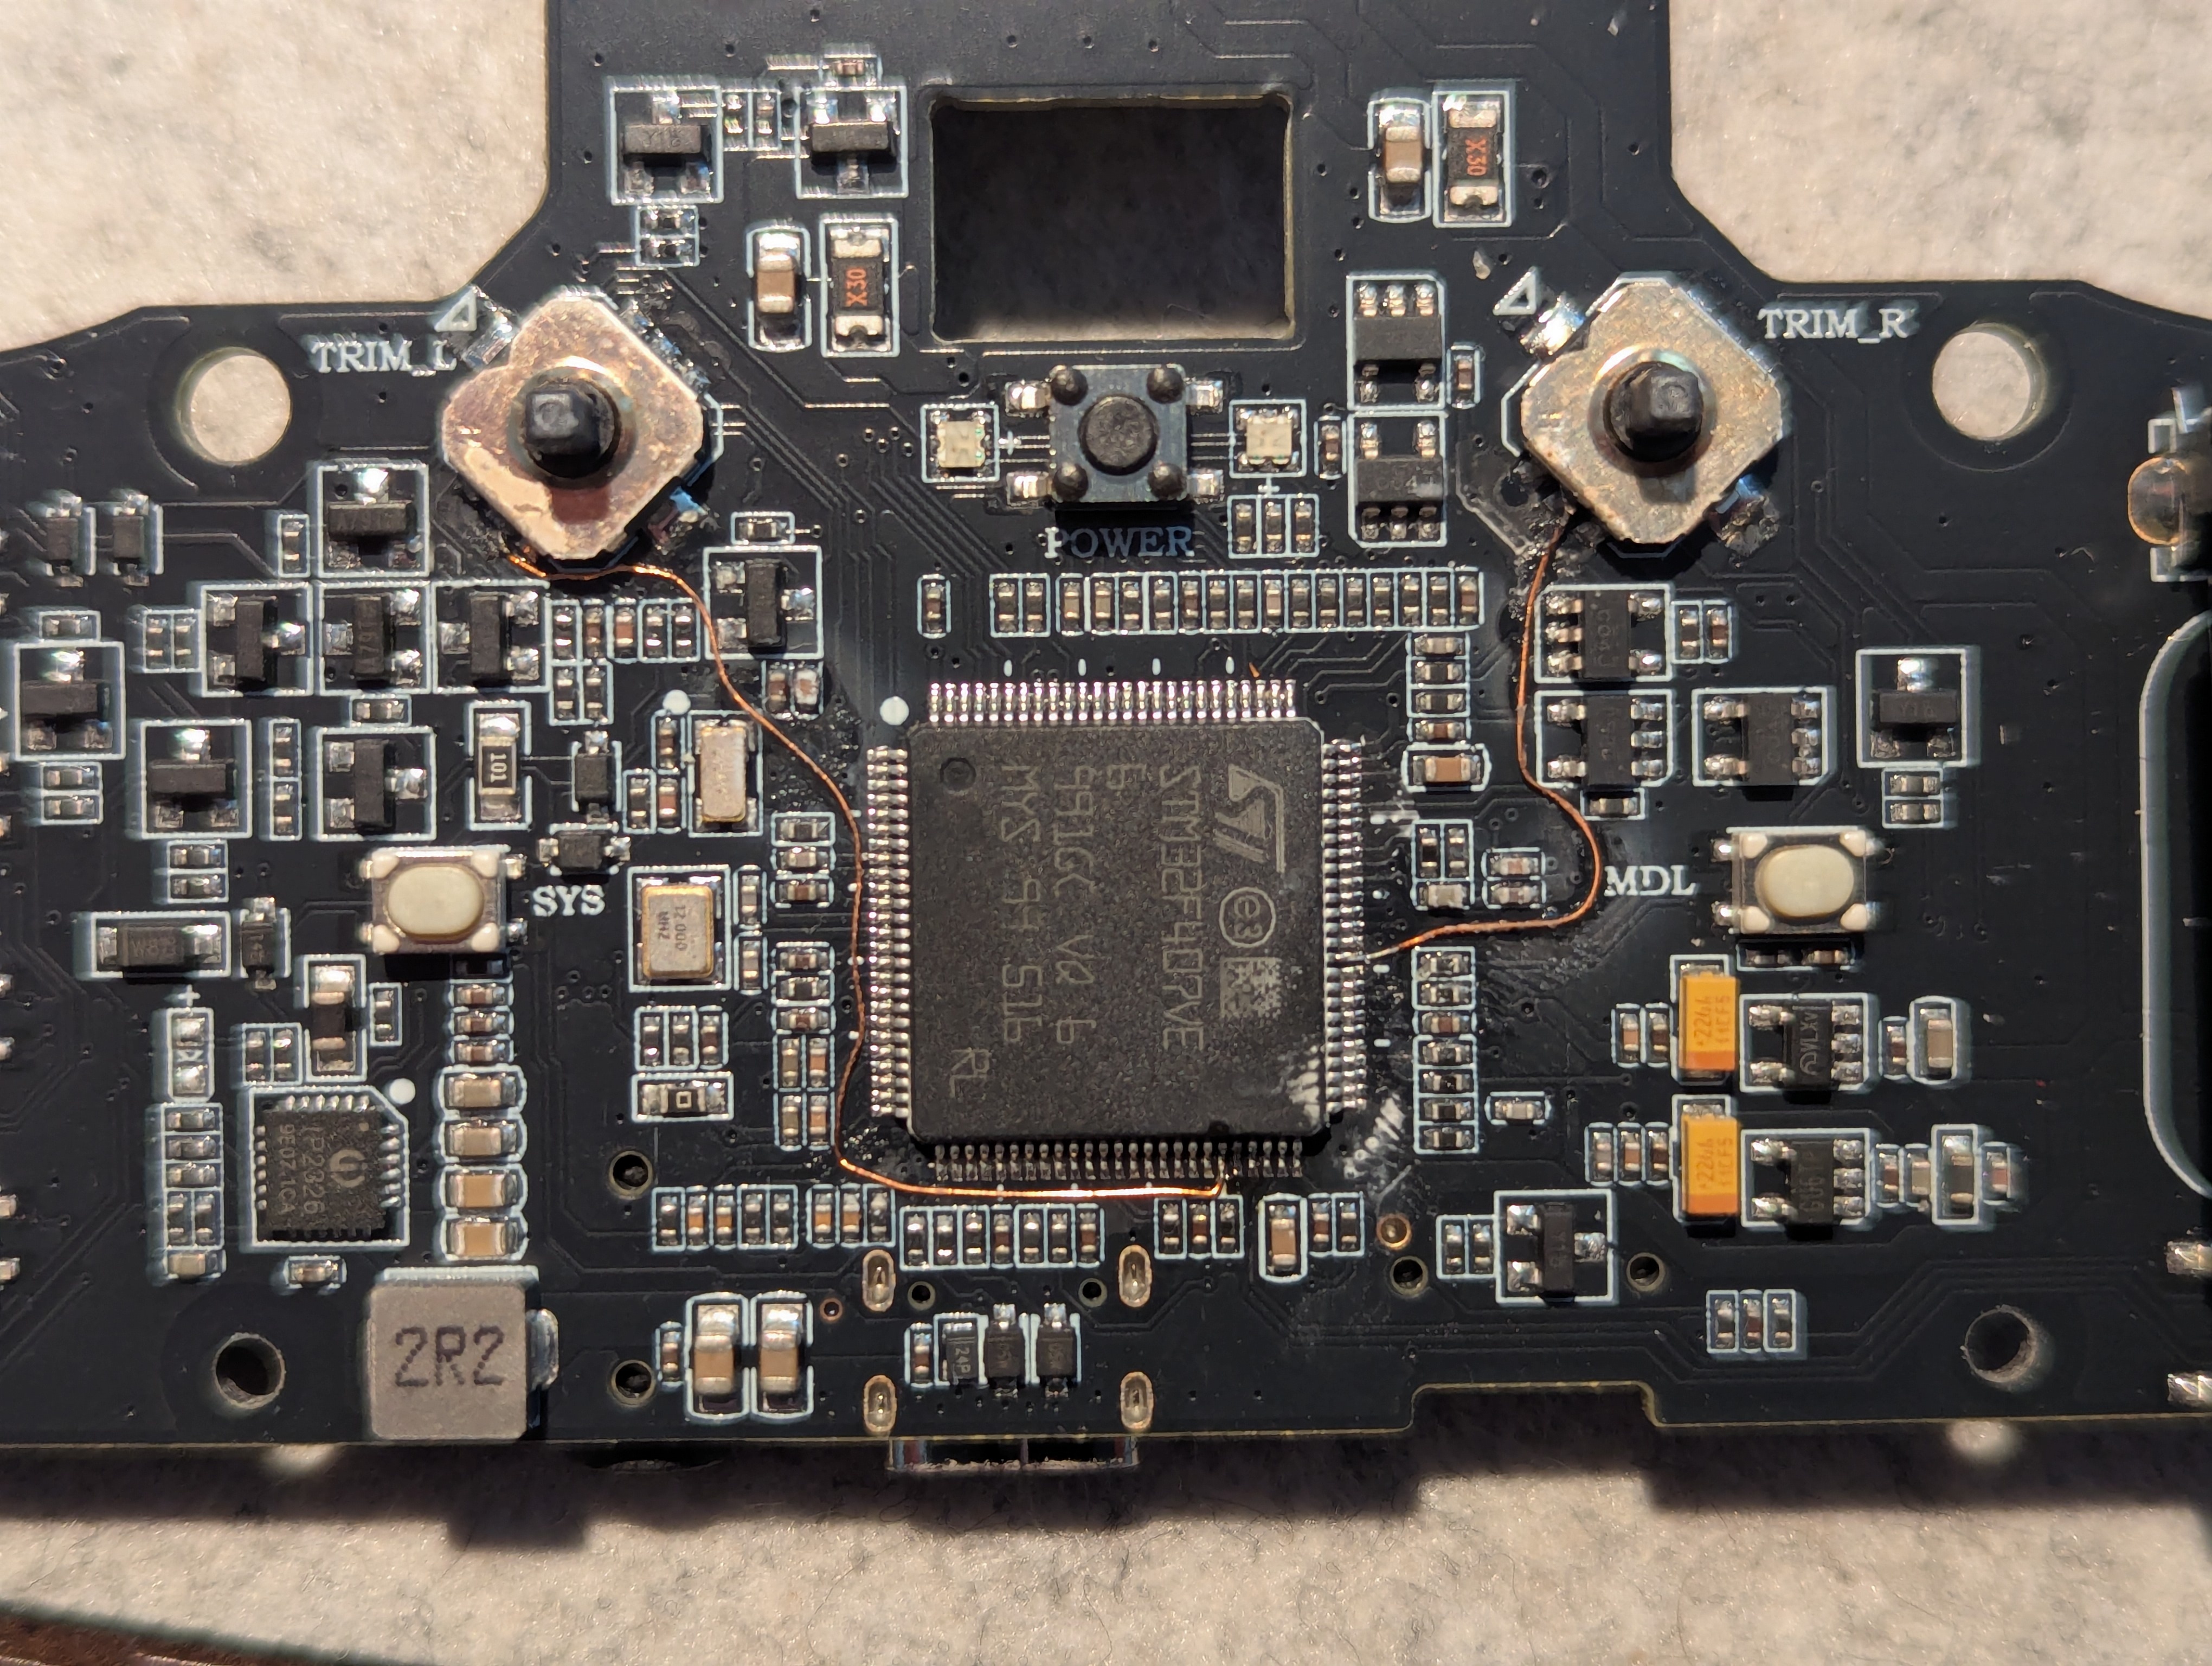
Looking around I ran into this video: Basically the schematic of Pocket and Zorro is close enough that you can flash the zorro firmware on the pocket and run two wires into the middle button of the five way switch and you have two new buttons. There are actually three unused pins that you can connect too. And then you can figure out which kinds of switches you want.
I’ve also installed the latest releases of the firmware, on the radio and on the transmitter.
The programming of the functionality of the radio is interesting. I’ve implemented a couple of functionalities, like an advanced arm procedure that does not get into your face when you turn the radio on. It is a little bit of a nerd snipe to start implementing bunch of different functionalities that seem great but without actuall experience to know that you need it. I also seems to me that it is a legacy configuration mechanism that became turing complete by accident. It does support lua scripts but I am not sure if that is run on the same “level” as the configured functions. It would be interesting to work on a different way in implementing those functionalities. Maybe I need a bit more experience with the whole ecosystem before doing something like that. A nice page that explained a lot about edgetx to me: Mike’s OpenTX/EdgeTX Clinic
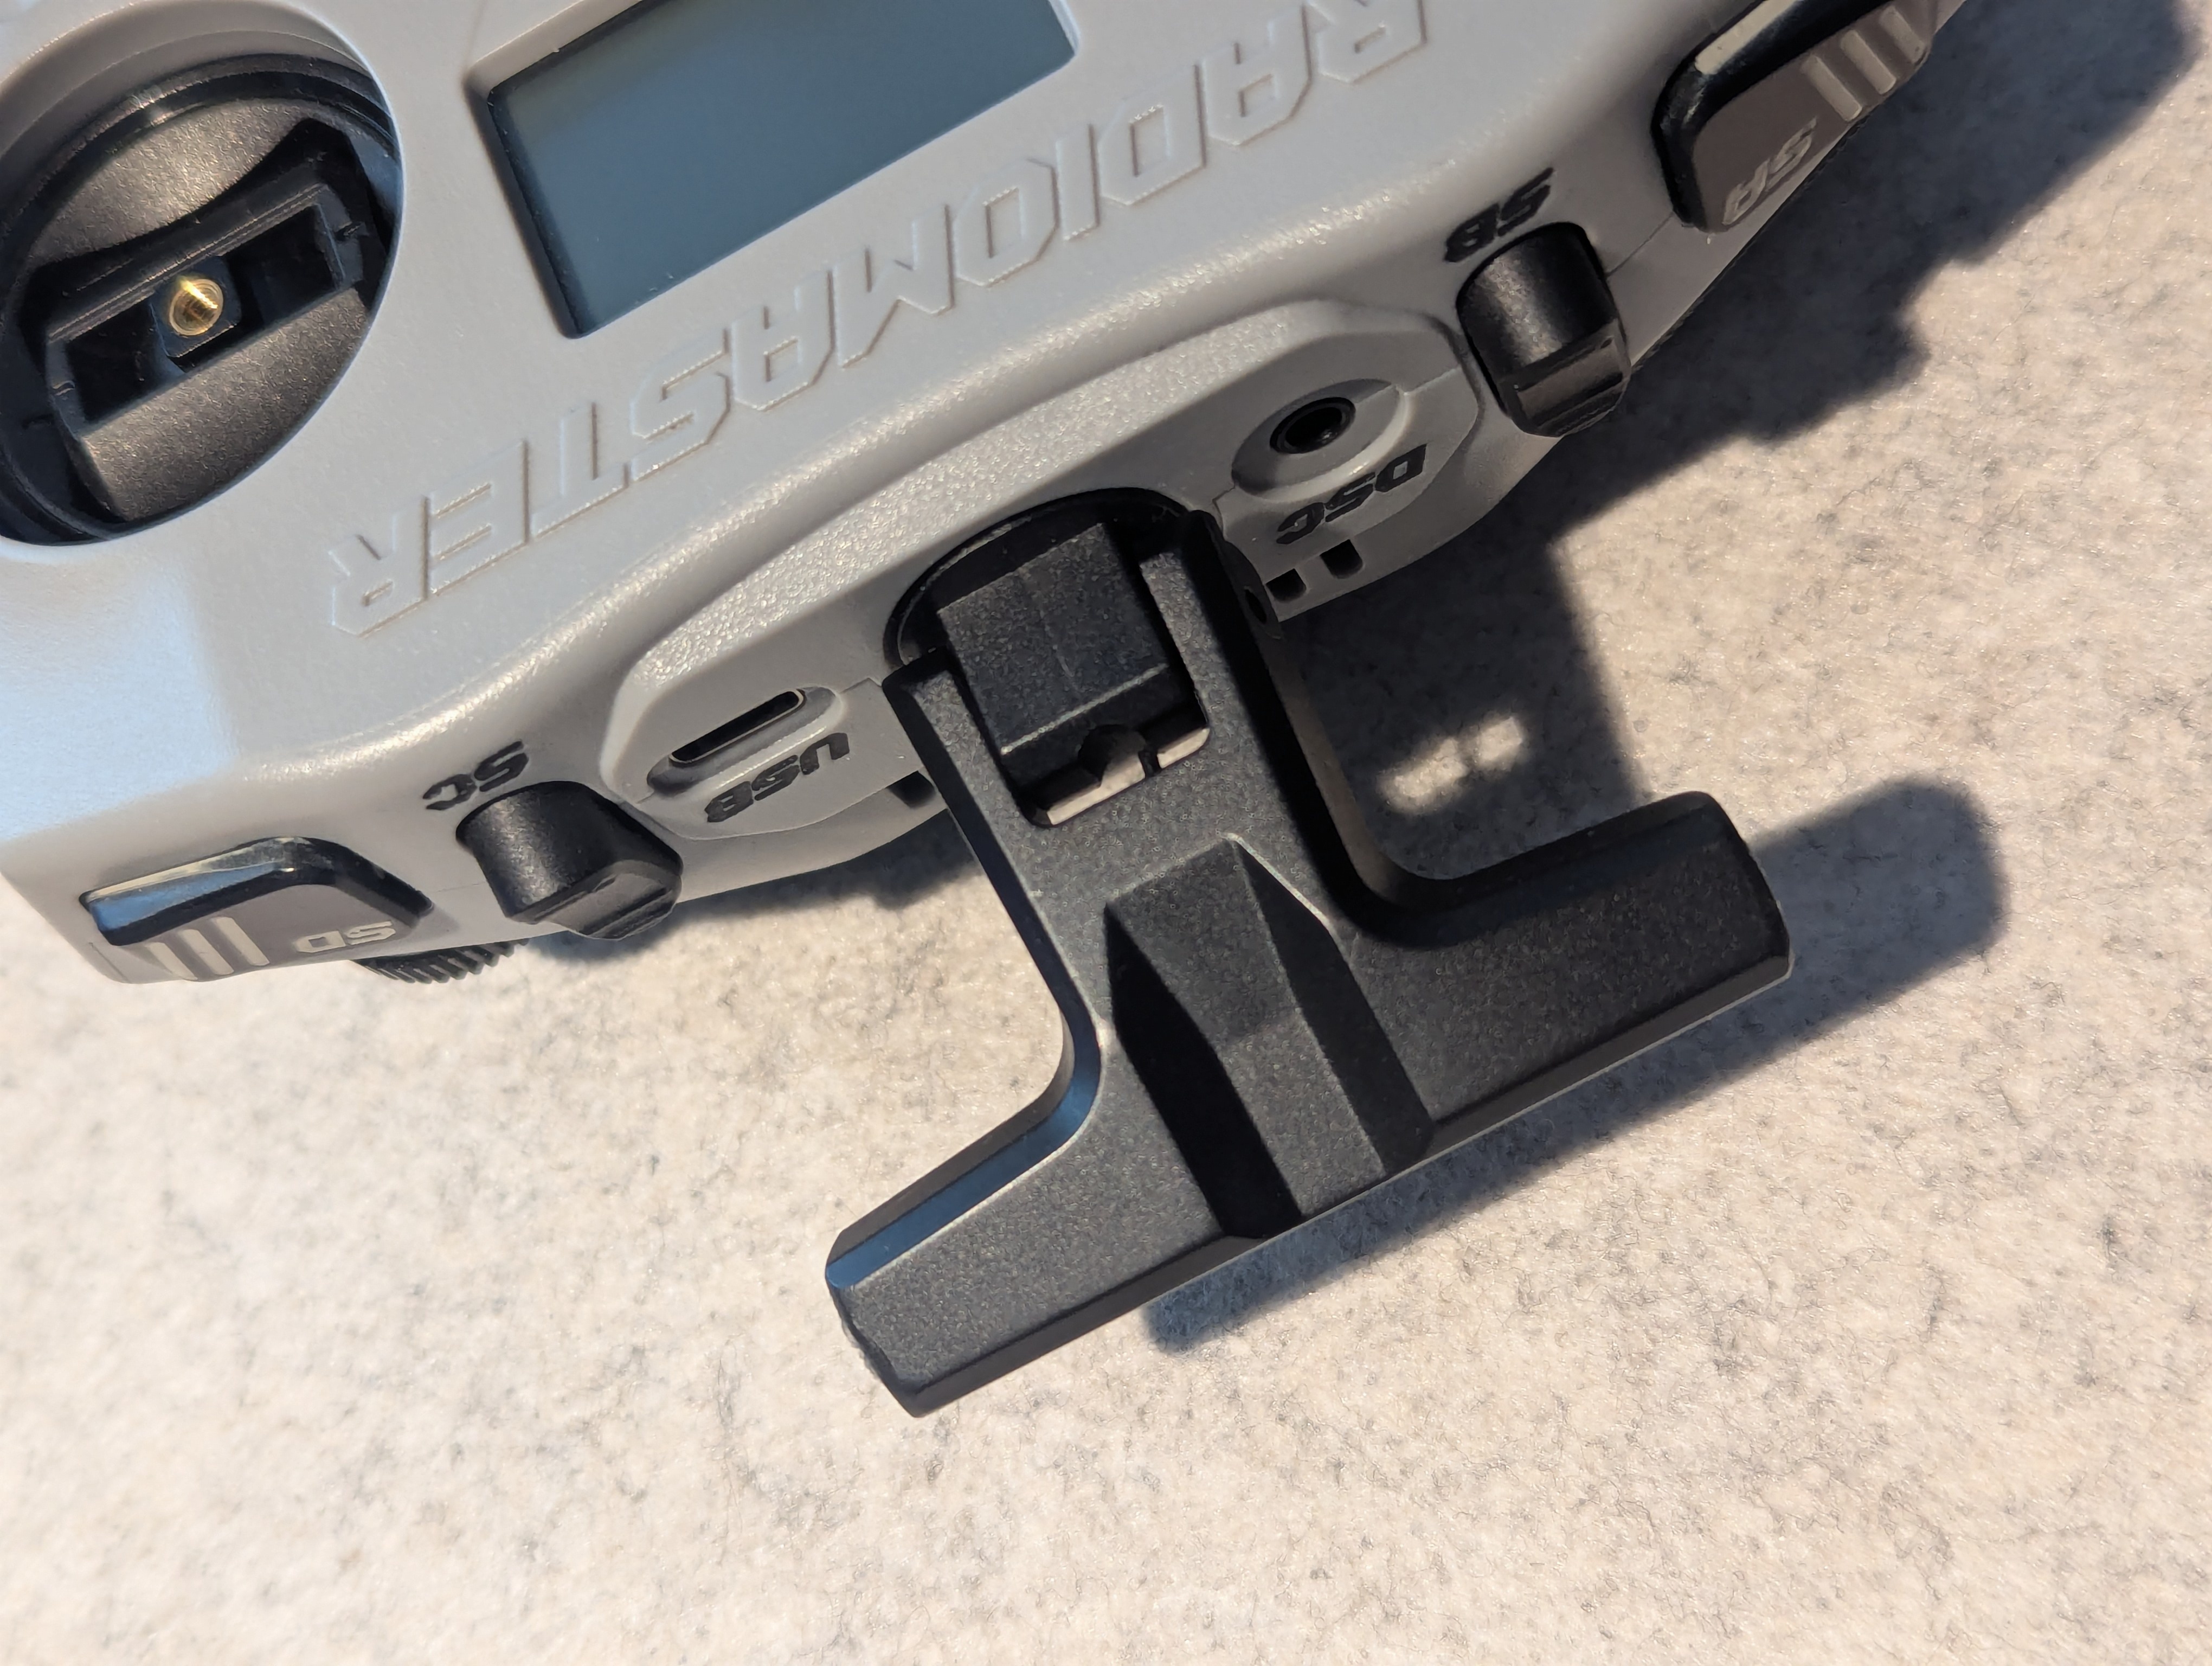
I printed out a nice clasp for the neckstrap at first I used it, but later I stopped using the neck strap.
I am waiting for a friend of mine to print me out a new antenna case. As the default antenna case is actually 3 times bigger than needed. Waited for a long time, in the end I ended up just cutting the antenna that comes with the pocket. I decided that I do not want to create more plasic trash if I do not need to.
One thing that I want to do but did not get to doing is removing the internal leds. The original pocket is translucent and they put leds to light it up from the inside. They did not do a revision of the pcb for the crush model, so the leds are inside but not visible. Plan is to remove the leds, and get a couple of minutes of battery life back.
This is more or less it. There are a couple more things that can be done, an additional switch and a pot, but that would need more extensive case modifications. You can change the lcd with an oled, but it does not fit perfectly. So we will see if I end up modifying it further. I think the better thing to do is to fly, fly, fly.